How to Make Packaging Tape Transfers
This is a quick and easy DIY that anyone can do to make your own transfers/stickers out of packaging tape.

First you need to gather your supplies: clear packaging tape, scissors, your image, and what you're going to put it on.

Second, you trim your image and apply the packaging tape. It's better to leave more tape around the sides because the image itself will not be sticky enough to stick to anything. If you have a bigger picture, just layer as much tape as you need until the image is completely covered. Also it is important to remember that anything that is white in your picture will show up transparent.

Next you need to burnish your image. For this you can just use and credit card or even your fingers. It's just to make sure that the image is completely stuck to the tape and that there are no air bubbles in it either.
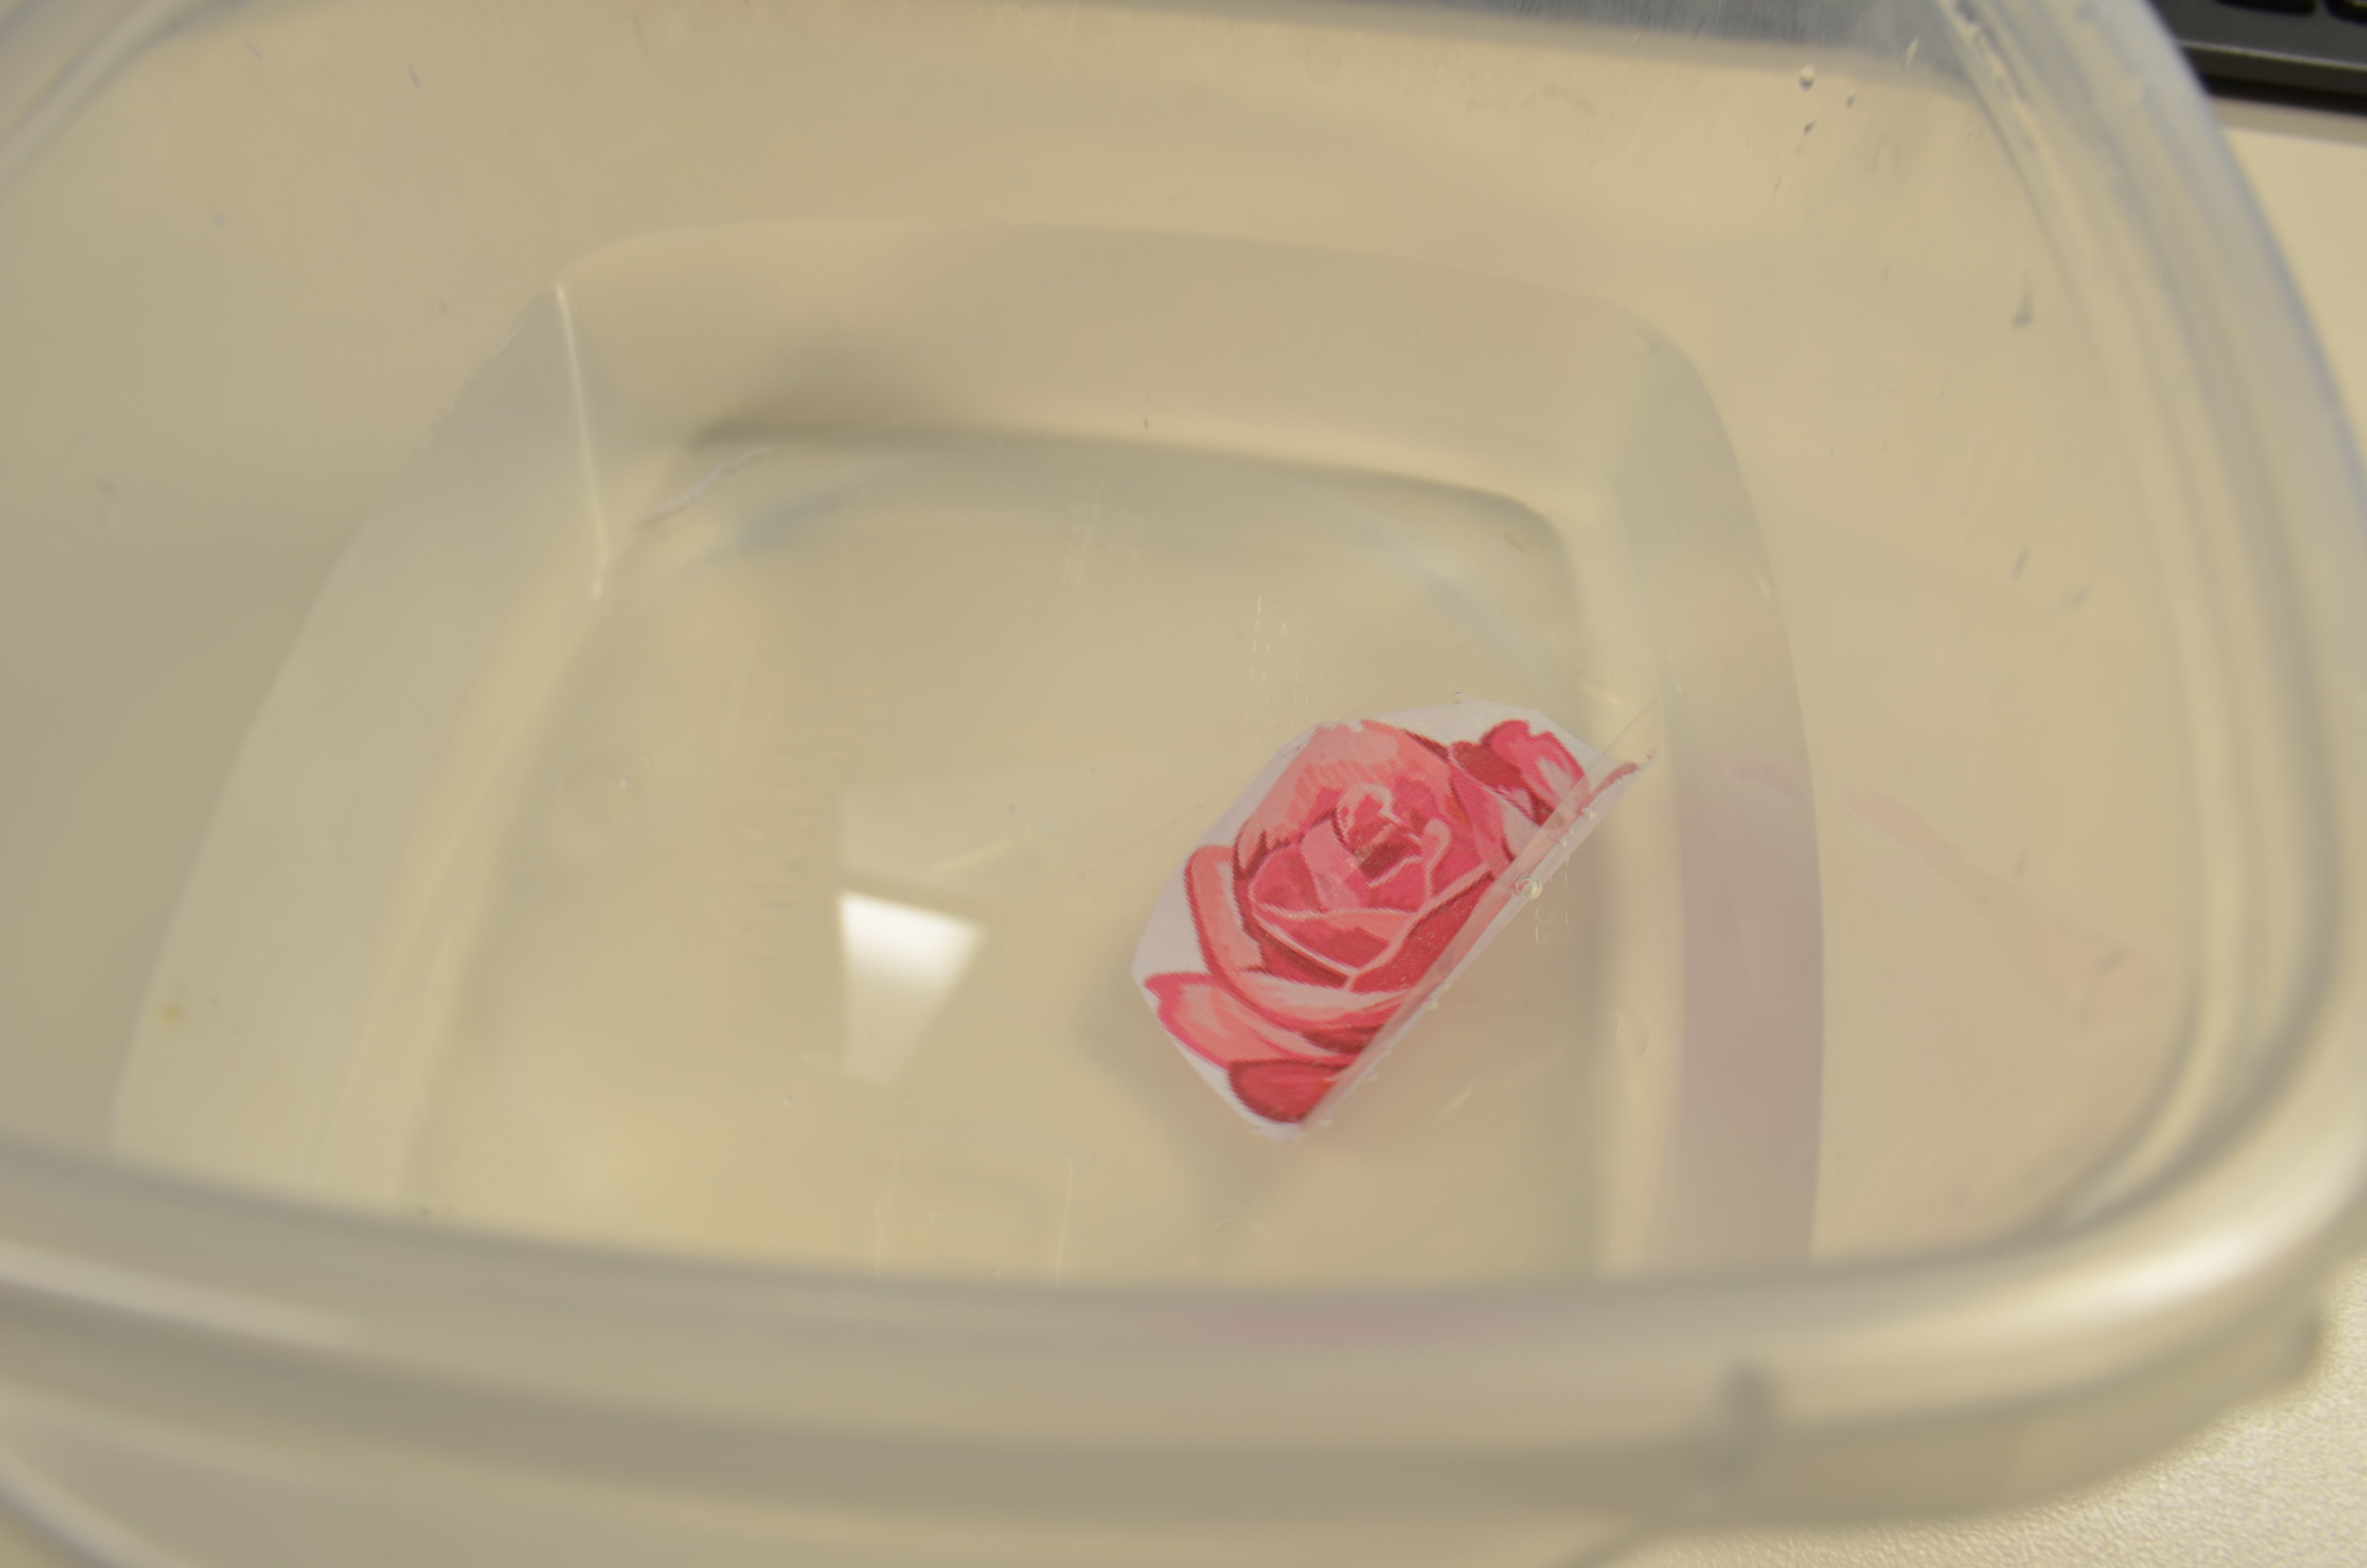
Now you need to soak your tape-covered image in a bowl of warm water for about 2-3 minutes.

Once your image has soaked, start to rub it in between your index finger and thumb. The paper on the back will start to come off. Dip it in water and continue to do this until the paper is off. It's okay if there is some white residue left over on the tape.

Then you let your tape dry and once it's dry you can stick it on whatever you want!

You can make anything you want into a sticker!